Loading...

Home  |  About Us  |  Pricing & Turnaround Time  |  Our Guarantee  |  Testimonials  |  Shipping  |  Payments  |  Links  |  Contact Us  |  303-745-9422
Menu of Gem Cutting Services.

I Re-faceted this Kunzite to Close the Window
and Improve its Brilliance

A customer sent me a large 295 carat Kunzite which had been cut in Pakistan. They didn't do too bad a job over there, considering the primitive equipment and methods they use. The customer wanted the stone re-faceted to close the window and make it more brilliant with a symmetrical facet pattern with nice flat facets and a better polish.

I first made her aware of the risks involved in working on Kunzite. Kunzite has perfect cleavage in two directions. Some cutters have had a Kunzite fall in half while they are working on it. After understanding the risk involved, she told me to go ahead and do my best.

See a video of the finished stone near the bottom of this page.

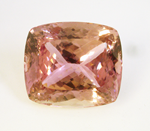
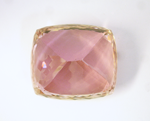
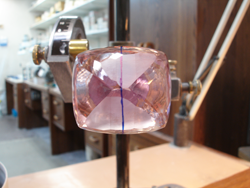
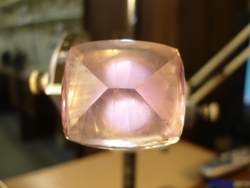
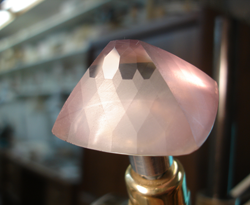
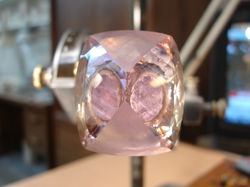
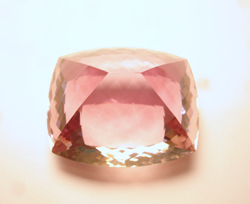
Photo of the pink Kunzite before we cut it showing the window. Shows the pavilion of the faceted Kunzite and how the facets are not well cut on the old stone.

Before re-faceting the large Kunzite

At left are photos of the 295 carat gem before we started working on it.

An arrow telling users to click on the photo to make it larger.

Left photo: You can see a white colored 'window' in the shape of an X where the stone loses its color because the angles are too shallow the the light (and color) leaks out of the bottom of the stone.

Right photo: In the enlarged photo, if you look closely you can see how the facets are rounded and do not meet well. The entire bottom of the stone has a 'twist' to it because of lack of symmetry.

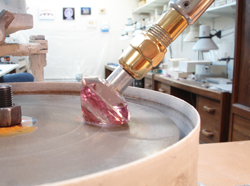
Shows me cutting the Kunzite on my diamond lap.

Beginnning the faceting

I begin with the pavilion for the purpose of getting the angles correct to close the window.

Shows the first cuts I have made on the pavilion of the stone and a verical blue line I have drawn for allignment purposes.

Creating symmetry

I draw a line with a Sharpie as a means of alligning the beginnning of the pattern with the shape of the stone.

This makes the 'twist' in the previous pattern even more apparent.

Shows all of the first facets I have cut. They are all long and narrow.

Main facets have been cut

Here you can see the rows of long facets which lay the basic groundwork for this pattern.

The symmetry of the pavilion is now in place.

I use care to make them equal because going back to correct them later would be a huge hassle. It pays to make them right in the beginning.

Shows how I make the diamond shaped facets on the pavilion.

Secondary facets

You can see that I have started adding the secondary facets which create the 'pattern' you will see in the end.

These are placed in an alternating manner which makes them diamond shaped with the points of each one meeting the others.

You can see that they do not go all of the way down to the girdle. I know that the final row of secondary facets will 'wrap around' and come to the girdle. This is a method which saves weight on the stone rather than 'over-cutting' and unnecessarily removing material.

Shows that I have finished cutting the facets on the pavilioin. Now I need to do the pre-polish step.

Side Facets

You can see that I have finished cutting all of the facets on the side and they meet nicely.

They meet nicely at the girdle which means I lost a minimal amount of weight.

The next step is to pre-polish the facets.

Shows that I have pre-polished a few of the facets near the culet.

Pre-polishing the Facets

You can see how the facets near the culet are now shiny. This is the pre-polish stage.

I will later return and also polish each facet with a high polish

I record the coordinates for each facet. Every facet has an angle and an index. That is how I can return to each facet for each step of the cutting, pre-polish, and polishing steps.

Having to do 3 steps on every facet is why it takes many hours to cut a gemstone. And even longer on a stone of this size.

Shows the sides of the pavilion are polished but not the ends.

The sides are finished

You can see that the sides are finished but the ends of the pavilion are still frosty looking.

I will be doing the same steps to the ends in order to finish the pavilion.

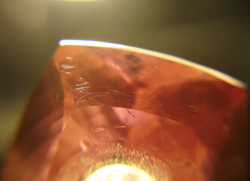
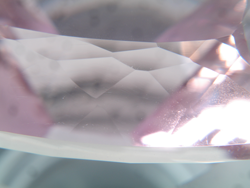
Shows that some of the crown facets in the crown have very tiny cleavage fractures.

Mini fractures

The bright shiny horizontal lines which you see are mini fractures in the crown.

These are caused by the thousands of cleavage planes in Kunzite. Any one of these could extend (similar to how the crack in your car windshield can expand across your entire windshield) and cause the stone to fall into 2 pieces. These have me concerned.

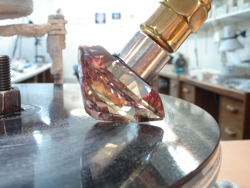
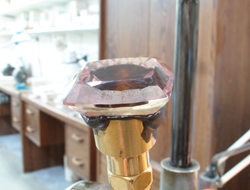
Shows me polishing the Kunzite on a black polishing lap.

Polishing the Pavilion

I selected a new polishing lap which is made of a special carbon fiber composite. It puts a very high polish on Kunzite and other gems like Aquamarine and Tanzanite.

This picture shows how poorly the facets on the crown were cut before I started re-cutting the stone.

Old crown facets

Look at how the old crown facets were cut. They are rounded and they don't meet very well at all.

Rounded facts give a different look than nice flat facets do. Flat facets make a more distinct 'sparkle'. Rounded facets create more of a rolling light. Most people prefer sparkle!

This shows the first cuts that I am making on the crown.

First Crown Facets

Here I am making the first facets on the crown, similar to what I did on the pavilion.

On the enlarged photo you may notice what appears to be some 'peeling' on the facets that I have cut. That is once again the cleavage layers showing, which have me a bit concerned.

This shows how I am making diamond shaped facets on the crown.

Secondary Crown Facets

You can see that I have started adding the secondary crown facets, starting at the girdle.

Also notice a curved white line in the shape of an arch. This is a twinning line where 2 crystals have joined. This will disappear during the polishing process and become invisible. It does not cause any structural issues for the stone.

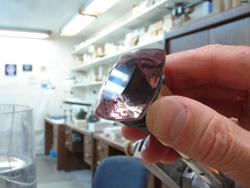
Shows me examining the stone while I am polishing it.

Examining the stone

I am examining the polish.

Shows me cutting the facets on the ends of the crown.

Working on the Ends of the Crown

Here you can see I have both sides of the crown finished and I am now working on the ends.

I am on home stretch toward having this stone finished. Some cutters have gotten this far only to have the stone fall in half on them. I am keeping my fingers crossed and proceeding very carefully by using light pressure on the cutting and polishing laps.

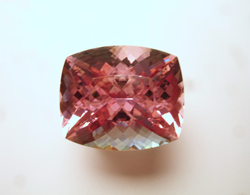
This shows the finished stone which is now a richer pink color.

The Finished Kunzite !

Here you can see the finished stone.

After finishing the crown facets I also re-polished the table. The previous table was not perfectly flat and also had a few minor scratches on it.

The stone finished at 226 carats.

They window is now closed and notice how the color has improved!

Video of the Finished Kunzite

<---- View video of the finished stone

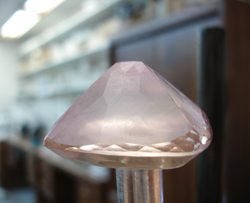
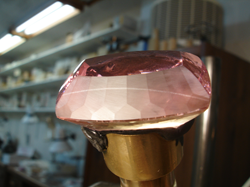
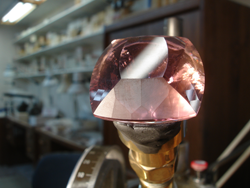
This shows a side view of the finished stone.

Angled view of the Kunzite

Viewed from the side.

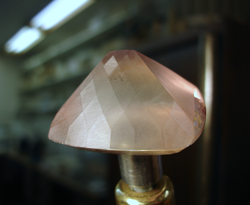
This shows a side view of the finished stone.

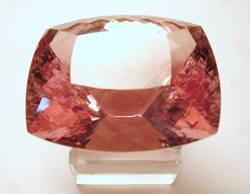
View of the Pavilion

If you enlarge the photo, you can see the symmetry of the facets on the pavilion.

This gemstones is available for purchase. If you are interested in this large Kunzite, I can put you in touch with the owner.

→ Take me back to examples of Faceting Large Gemstones.....


Denton Anderson,
Gemologist & Gem Cutter
click photo for Video

Photo of Denton the gem cutter.

Graduate Gemologist, GIA, GG
Over 20 years of experience.